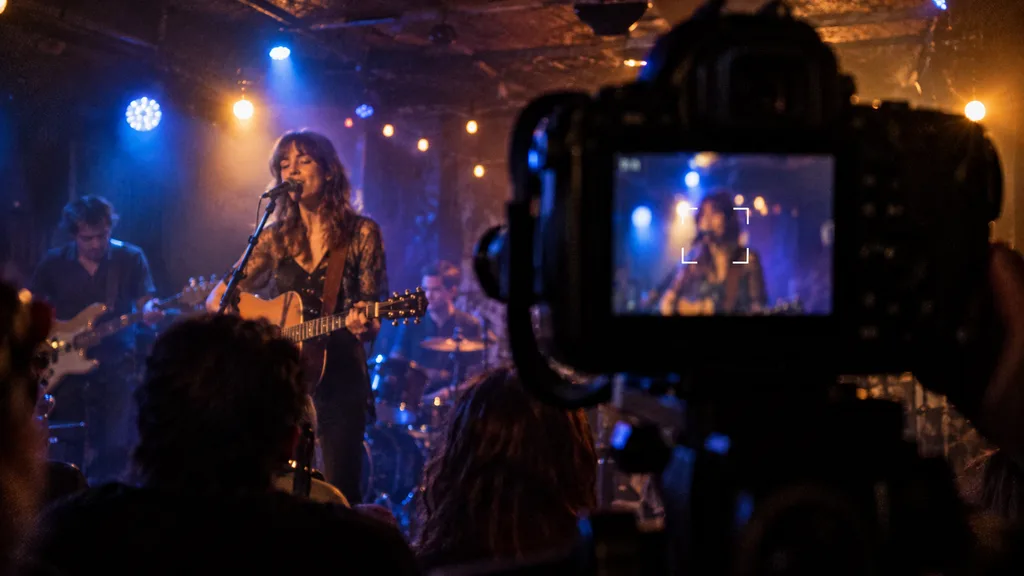
At the back of a small music venue, the singer steps from an amber pool of light into blue shadow just as the camera begins to refocus. The focus box jumps to a microphone stand, the lens moves forward and back, and the best expression disappears before focus settles. I have seen the same failure during documentary interviews in dim rooms: the monitor looks bright enough for composition, yet the lens cannot find the eyes.
If you are asking, “Why is my camera lens not focusing in low light?”, do not assume the lens is defective. Autofocus needs usable detail, not merely a scene that looks visible on a bright electronic display. The quickest solution is to identify whether you have a genuine focus-acquisition problem, the wrong focus target, or blur produced after focus was confirmed.
Why Is My Camera Lens Not Focusing in Low Light?
An autofocus system estimates focus from detectable edges, phase differences, or contrast. A dark subject offers a weaker signal, but brightness is only part of the problem. A shadowed face, plain black shirt, smooth wall, reflective car, tiny distant subject, severe backlight, or flickering LED can deprive the camera of stable information. Bright stage bulbs may dominate the frame while providing no useful detail on the performer.
Canon’s EOS R100 autofocus guidance, for example, lists low contrast, low light, repetitive patterns, night points of light, LED or fluorescent flicker, reflection, backlighting, and near and distant objects inside one AF area as difficult conditions. These are useful diagnostic categories, not proof that every camera behaves identically.
First Check Whether It Is Focus Failure or Motion Blur
How to Tell Hunting Autofocus From Camera Shake
Watch and listen before changing settings. Repeated lens movement, a pulsing preview, a focus box that never confirms, or a shutter that refuses to release in focus-priority mode indicates failed acquisition. If the camera confirms focus but the whole frame shows similarly directed streaking, camera movement during a slow exposure is more likely. If the background is crisp while a hand or face smears, subject motion is the likely cause.
Review the image at high magnification. A missed focus plane often leaves something else sharp: ears instead of eyes, a microphone instead of the singer, or the curtain behind an actor. Camera shake tends to create doubled edges across stationary objects. Changing AF modes cannot repair a shutter speed that is too slow.
Why a Sharp Focus Lock Can Still Produce a Blurred Photo
Focus confirmation only means the system accepted detail somewhere within its active area. The intended eye may not be that detail. The subject can also move outside a shallow depth of field after confirmation. Image stabilization may reduce movement from the photographer, but it cannot freeze a walking subject or turn an incorrectly focused frame sharp. Raise shutter speed for motion, improve support for camera shake, and adjust AF targeting for a misplaced focus plane.
The Subject Has Too Little Contrast
A plain dark shirt and a face turned away from the key light may contain too little local variation for reliable acquisition. Move a small AF point to an eyelash, the boundary between face and hair, patterned fabric, or another distinct edge. If that detail is not at the desired plane, choose a textured object at the same distance, acquire focus, lock it, and return to the composition.
When Focus-and-Recompose Is Safe
Focus-and-recompose works well for a stationary subject at moderate distance and a forgiving aperture. It becomes risky close up, with a wide aperture, or whenever either participant moves, because rotating the camera can shift the eye away from the focus plane. In those cases, position the AF point directly over the eye or use magnified manual focus. Canon documents focusing on an equal-distance object and recomposing, or switching to manual focus, in its EOS-1D X Mark III guidance.
The AF Point Is Looking at the Wrong Part of the Scene
Automatic area selection can see more choices than you intend. At concerts it may prefer a bright audience face, microphone, railing, or high-contrast LED wall. A large zone can contain both the performer and the backdrop; focus confirmation can then be correct for the background but wrong for the photograph.
Select a smaller area or single point and place it deliberately on the subject. If eye or subject detection repeatedly chooses the wrong person, temporarily disable it. A very tiny point is not automatically superior: it can be difficult to hold on a moving face and may contain too little detail. Choose the smallest area you can keep reliably on a useful feature.
The Lens Is Too Slow for the Scene
A kit zoom may change from a moderate maximum aperture at its wide end to a smaller one at its telephoto end. Less light reaches the focusing system, while exposure may require a slower shutter or higher ISO. A faster prime or constant-aperture zoom can give the camera a stronger signal and help preserve a motion-stopping shutter speed, but it cannot create contrast on a blank surface or correct confused target selection.
What a Wider Aperture Can and Cannot Fix
Open the aperture and retest the same AF point. If acquisition becomes prompt, light level was probably an important constraint. Increasing ISO may brighten the recorded image or preview, depending on the camera, but it is not a universal way to improve AF detection. AF architecture and behavior vary among bodies.
Why Depth of Field Creates a New Risk
A wide aperture narrows depth of field, especially close to the subject or at longer focal lengths. That makes exact eye placement and continuous tracking more important. During interviews, I often accept a little more sensor noise so I can stop down slightly and keep small head movements within an acceptable focus zone.
Flicker, Point Lights, and Backlighting Can Confuse AF
LED walls, fluorescent tubes, neon, candles, streetlights, and reflective costumes produce unstable or misleading targets. The exposure may sample an LED cycle when a face is darker or differently colored, while isolated bulbs tempt automatic selection away from the subject. Strong backlight can reduce facial contrast even when the frame appears bright.
Aim at a stable, textured part of the subject and avoid placing the AF box across a face and a bright lamp. If available, test the camera’s anti-flicker or high-frequency flicker options and choose shutter settings appropriate to the venue’s lighting. These features and menu names are model-dependent. Test before the performance because lighting cues can change between songs.
The Equipment May Be Outside Its Low-Light AF Capability
Every body-and-lens combination has a point at which detection becomes unreliable. Published EV limits are measured under specified apertures, modes, temperatures, sensitivity settings, and target conditions, so a figure from one model should never be transferred to another. Some cameras offer low-light AF modes or display aids such as Starlight View, but a brighter display does not guarantee focus and may alter operating behavior.
Consult the manual for the exact body, lens, adapter, firmware, focus mode, and stills or video configuration. For video, continuous AF may hunt visibly during a take even when it eventually finds the subject. A preset distance, manual pull, or deliberately controlled AF transition is often less distracting than an automated correction.
Practical Fixes to Try Before Manual Focus
Start with a smaller, deliberate AF area on a bright edge or textured facial feature. For a stationary interview subject, use AF-S or One-Shot AF and acquire focus once. For a performer moving toward or away from the camera, use AF-C or Servo AF and keep an appropriate area on the subject. Names, tracking options, and release behavior differ among systems.
If the subject permits it, temporarily raise a room light, use a modeling light, or ask the subject to hold a phone screen near, but not directed into, their face while focus is established. Remove the light before recording if it changes the intended look. An AF-assist lamp may help compatible still-photography combinations, but its behavior varies with the body, flash, AF area, distance, viewfinder or live-view operation, and shooting mode. It may be ineffective in video, intrusive during documentary work, or prohibited at a concert. Never distract a performer or compromise safety for focus.
When Manual Focus Is the Better Solution
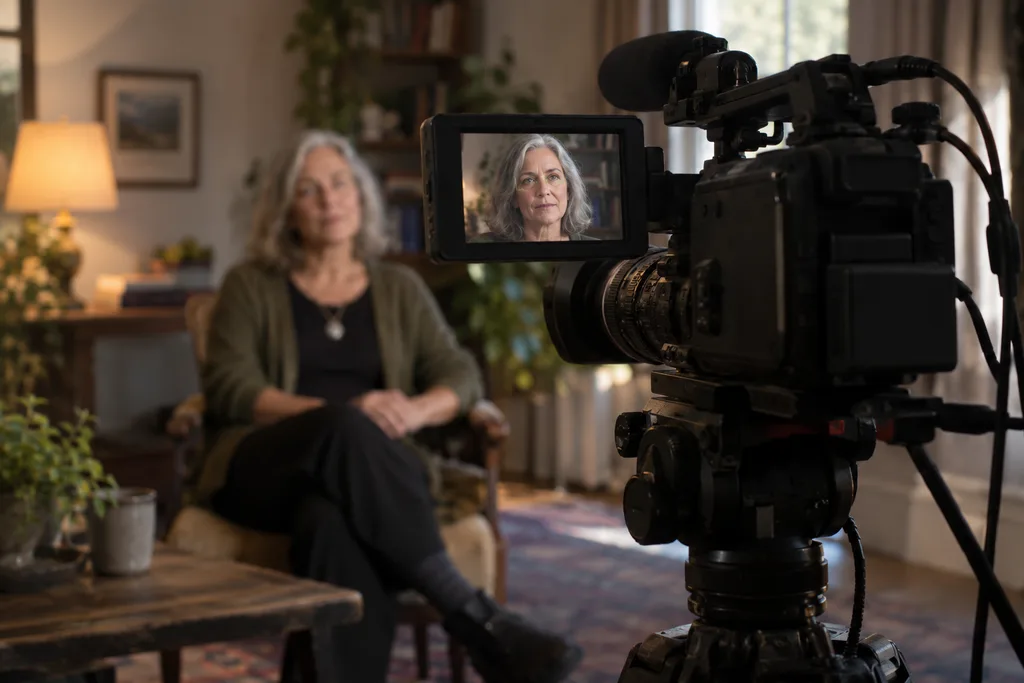
Manual focus is especially dependable when distance is predictable: a seated interview, locked-off wide shot, actor hitting a stage mark, or musician repeatedly leaning into the same microphone. Stabilize the camera when practical, identify or briefly illuminate the subject, magnify the display, and enable focus peaking if available. Focus on a high-contrast detail at the required distance, then lock the setting and avoid changing the camera-to-subject distance.
Peaking is an aid, not a precision measurement; its colored outline can appear across a broader region than the truly sharp plane. Confirm critical eyes with magnification, return to the full composition, and recheck whenever the tripod, zoom, subject, or camera position changes. For an unpredictable documentary subject, modern continuous AF may still be preferable. Manual focus is a controlled alternative, not a universal upgrade.
Lens, Camera, and Setting Checks
Confirm that both the lens switch and camera menu are set to AF, and that no custom control has disabled focusing. Check the lens’s minimum focus distance; autofocus cannot solve a subject placed closer than the optical design permits. Remove an unnecessary filter for testing, inspect it for haze or damage, and clean the front element properly. Dirt usually lowers contrast rather than shifting focus by itself, but a poor filter can add flare and reflections in backlight.
Power down before reseating a lens or adapter, then inspect contacts for obvious contamination or damage without scraping them. Verify adapter and lens compatibility and install manufacturer firmware where applicable. Test in a bright, contrast-rich room using one central or single point, then repeat with another compatible lens. If only one lens fails in controlled conditions, the lens becomes suspect; if several fail on the same body, the body or configuration deserves attention.
A Low-Light Autofocus Diagnostic Workflow
First, determine whether the lens hunts continuously or the image becomes blurred only after confirmation. Hunting points toward acquisition, contrast, AF-area selection, or hardware; post-confirmation blur points toward shutter speed, movement, depth of field, or the wrong focus plane.
Next, place a single point over a textured edge at the subject distance. If that works, the original target lacked useful detail or the automatic area chose badly. Add a modest temporary light or open the aperture and repeat; improvement indicates that light level contributed, though it does not prove the lens is faulty or superior. Compare single-point AF with subject detection, then select the appropriate single or continuous mode for the subject.
Finally, test manual focus. If magnified manual focus is clear while AF fails only in darkness, you have probably reached a scene or detection limitation. If manual focus cannot produce a sharp image, check minimum distance, condensation, filters, optical damage, and motion. Repeat in bright light with a second lens. Seek service when one component fails consistently under controlled, supported conditions, produces abnormal noise, sticks, reports errors, or cannot focus manually through its normal range.
Frequently Asked Questions
Why does autofocus work in daylight but not at night?
Daylight supplies stronger edges and cleaner subject detail. At night the same subject may be underexposed, backlit, flickering, or smaller than the active AF area, leaving the camera less stable information.
Does a faster lens always focus better in low light?
No. A wider maximum aperture can provide more light and permit faster shutter speeds, but low contrast, poor target selection, movement, and model-specific AF limits remain.
Should I use manual focus for every night photo?
No. Use autofocus when it tracks reliably. Manual focus is most useful when the distance is fixed, repeated, or easy to verify with magnification.
Can image stabilization fix low-light focusing problems?
Stabilization can reduce camera shake. It cannot correct missed focus, select the intended subject, or freeze subject movement.
Why does autofocus select the background at a concert?
Bright screens, lights, stands, and edges may be more detectable than the performer. Use a smaller AF area, establish the subject deliberately, and temporarily disable unreliable subject detection.
When should I have the equipment serviced?
Consider service after controlled tests show repeatable failure in good light with compatible settings, especially if one lens alone fails, manual focus binds, unusual sounds occur, contacts are damaged, or the camera reports errors.
The Most Reliable Way to Restore Focus
Separate acquisition failure from motion blur first. Then give the AF system a textured edge, choose the focus area deliberately, match AF-S or AF-C to subject behavior, and improve light or aperture when practical. If flicker, distance, or predictable staging defeats automation, magnified manual focus provides a controlled fallback. Only after bright-light and second-lens tests should you suspect a fault. In low light, careful diagnosis usually saves more frames than changing equipment at random.