The first accessory most people add to a new lens is a protective filter. And yet the internet is full of arguments that say you shouldn’t — that you’ve just spent serious money on glass, why ruin it with a cheap pane in front. Both sides have a point. The right answer depends on the scene, and once you can read that, a single filter becomes an asset.
One more sheet of glass means something
A protective filter adds another flat plane of glass at the front of the lens, with two new transmission surfaces. A well-coated filter holds reflectance per surface under 0.5 percent. A poorly coated filter reflects close to 4 percent per surface. With a strong light source in the frame, that difference becomes dramatic. Photograph a streetlamp and find a faint ghost across the opposite corner: that is a thinly coated filter doing its worst.
When choosing, look for multi-coating designation and how many layers. A simple coating treats one layer per side; multi-coating typically runs seven layers per side, and premium models reach up to sixteen. The price difference is real but so is the gain, particularly for anyone who shoots backlit scenes often.
Where the filter earns its keep outdoors
Beaches and sand are the most rewarding place to use a filter. Windblown grit relentlessly hits the front of the lens. A few days without a filter and the front element shows micro-scratches. A filter absorbs that wear. Replace the filter when it scratches; replace the front element and you pay much more. Rain works similarly. Drops on the front element leave mineral deposits, and wiping them off risks coating damage. Wiping the filter is safer.
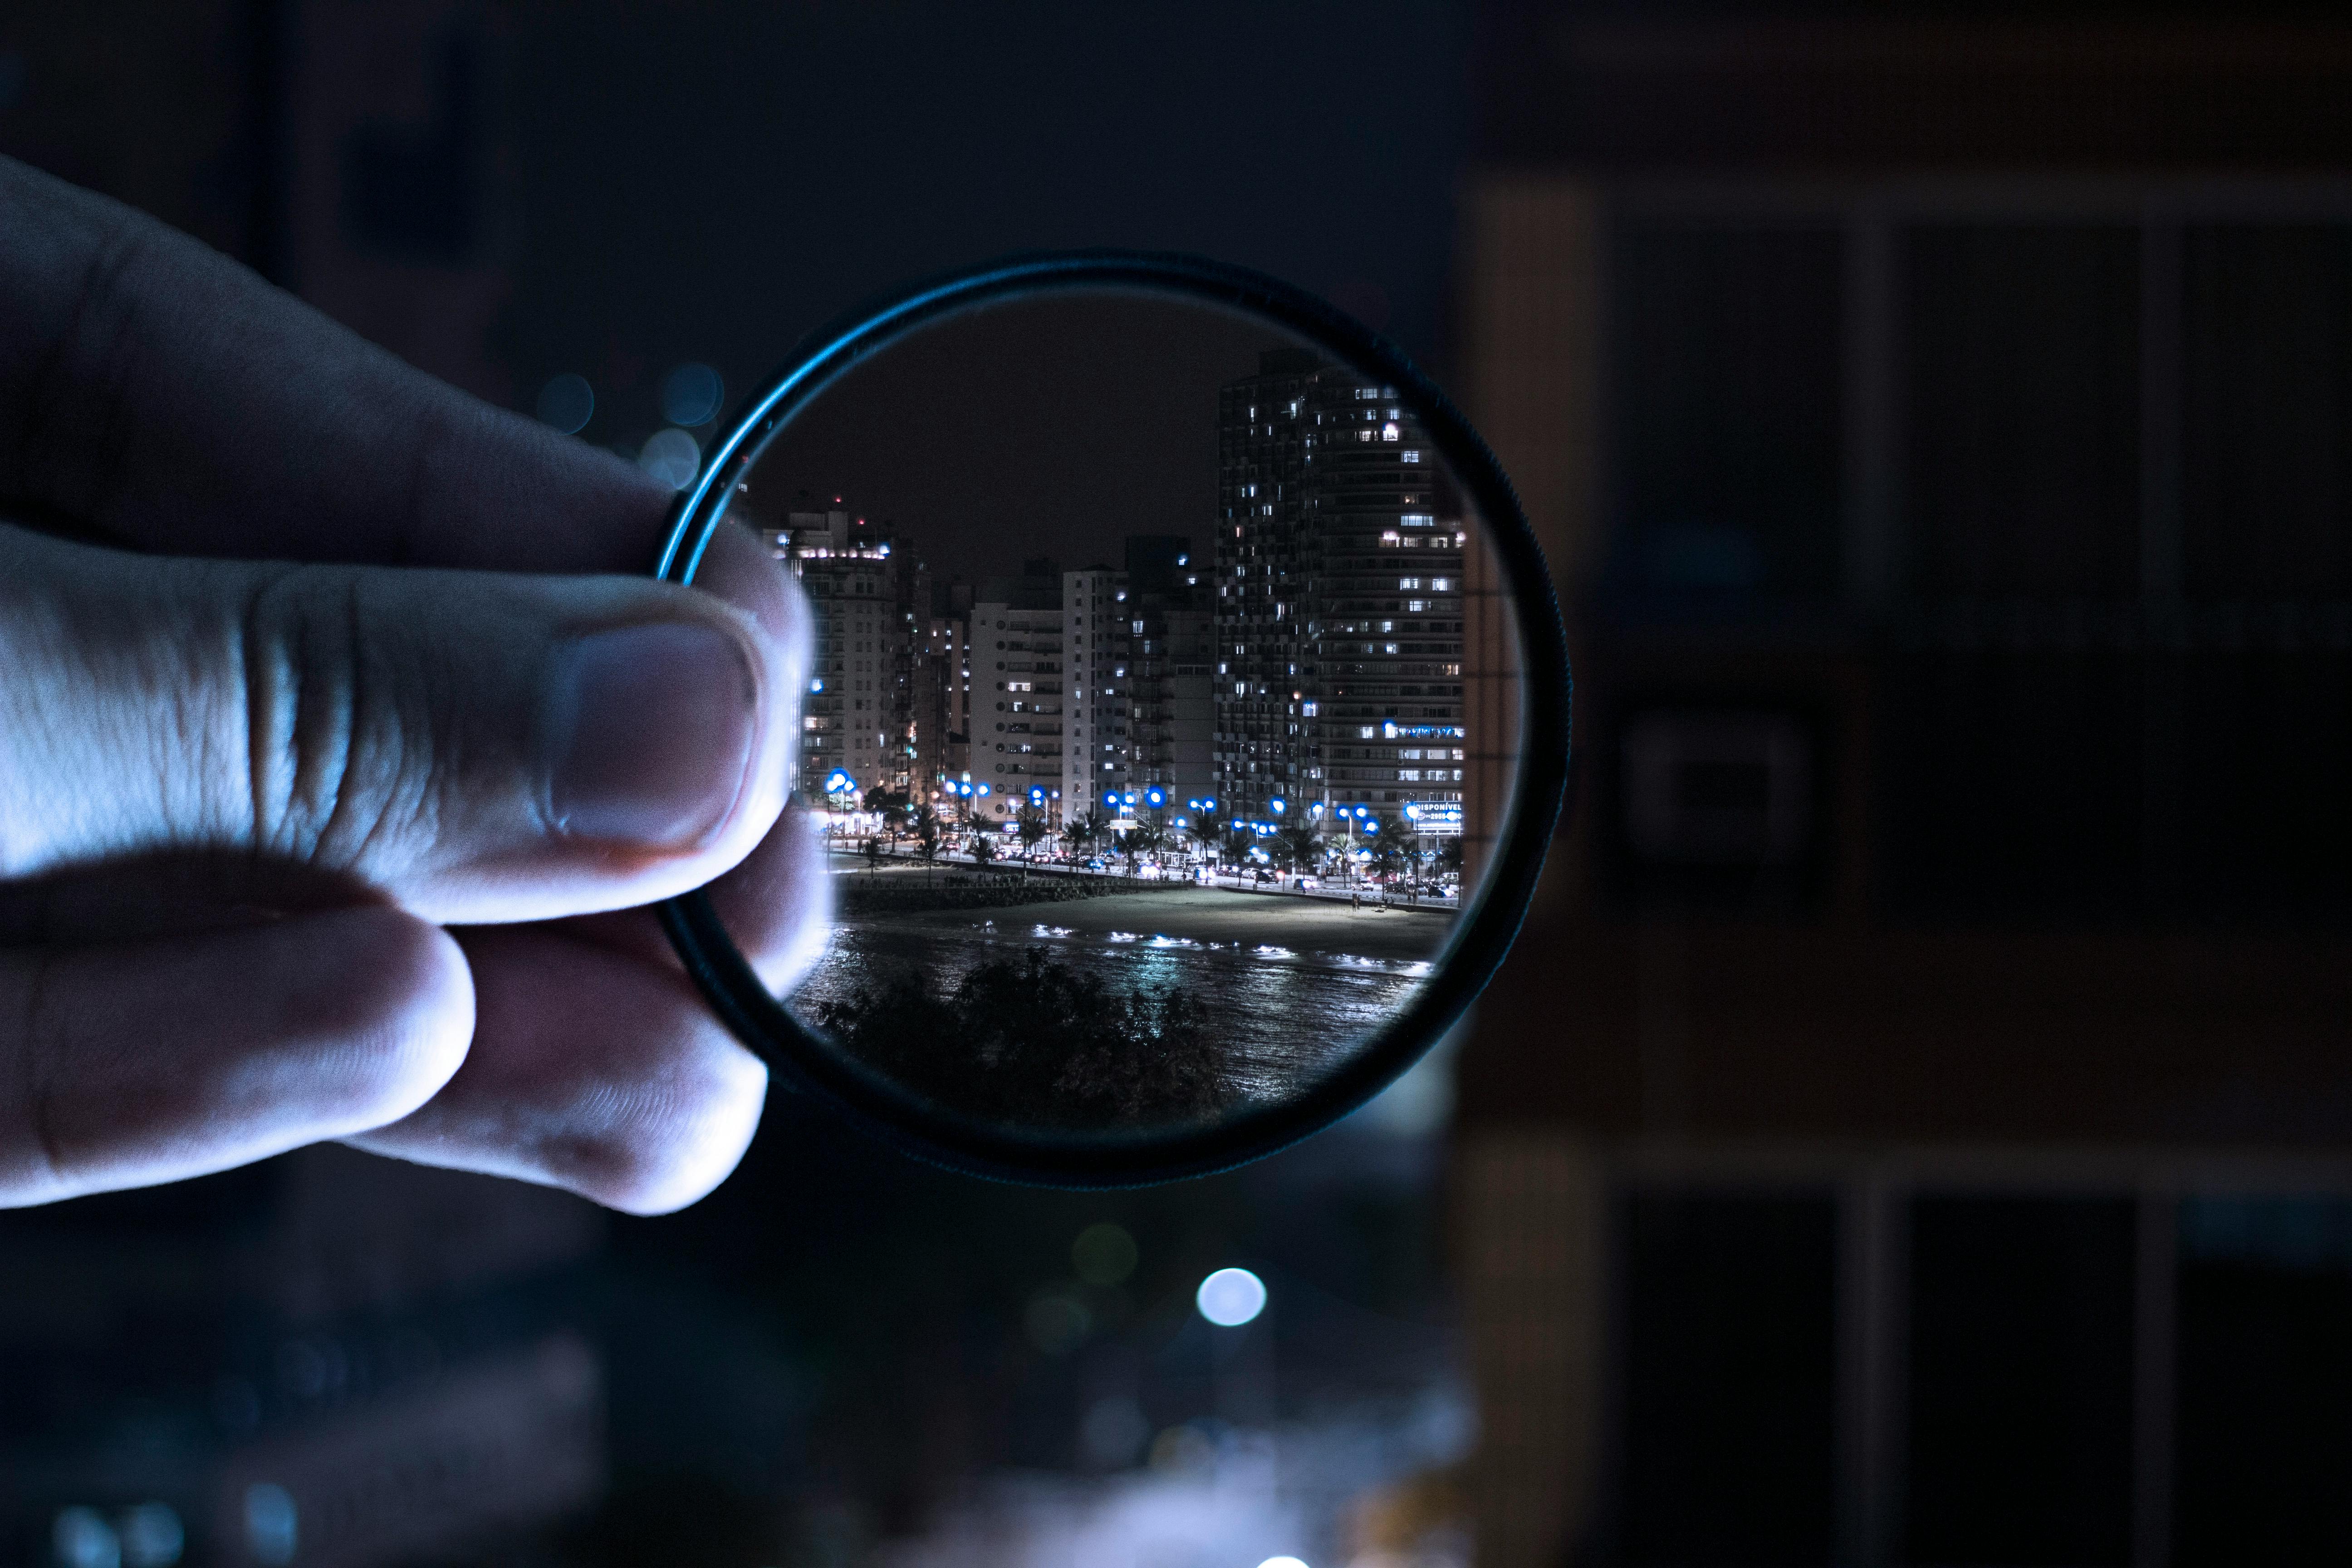
On the opposite side, a strong point light source in the frame — night cityscapes, stage shots — is usually a case for removing the filter. Direct light cannot be fully tamed even by a well-coated filter. The pane of glass costs more than it protects.
Price gap, actual gap
Budget filters start around ten dollars. Premium filters can run two hundred. The price spread reaches twentyfold for the same diameter. The actual optical gap is not that wide, but in strong light it shows. For routine outdoor portraits and landscapes, a mid-priced multi-coated filter is the sensible default. Photographers doing macro or night work that lives in difficult conditions get real value from going a tier up.
Thickness matters too. Thick filters on wide-angle lenses vignette corners. Slim-frame models keep thickness under 5mm and avoid vignetting even on wides. The trade-off is that slim filters often lack front threads, which means lens caps no longer click on. Small details like that shape how the gear feels in daily use.
UV versus protector versus clear
In film days, UV filters genuinely cut atmospheric haze. Digital sensors barely react to UV, and the effect has essentially disappeared. So today’s “UV” filter is almost identical to a clear protector: a piece of mildly coated flat glass. Manufacturers sell them under different names, but functionally they sit in the same category.
Polarizers and ND filters are different. They work optically, and you do not stack them on top of a protective filter; three layers of glass invite more flare. When using a polarizer or ND, remove the protector and put the working filter in its place. Cleaner that way.
Cleaning routine
One quiet reason to use a filter is that it offloads the cleaning burden. Keep a microfiber cloth in the bag and you can address the filter as it accumulates fingerprints and dust. Never use a rough cloth or a sleeve. Sand particles trapped in fabric scratch glass. Breathe on the filter to fog it lightly, then wipe gently with microfiber. For stubborn oily marks, put lens cleaning fluid on the cloth — not directly on the glass. Liquid that seeps into the filter ring’s edge can cultivate fungus.
The hidden benefit of using filters is reducing how often you clean the front element directly. Cleaning is itself one of the leading causes of coating wear. Filters add cleaning cycles but you can replace filters; you cannot replace coatings.
They pair well with hoods
Filters and hoods do not collide. Used together, the protection improves further. The hood blocks side light and reduces the filter’s flare risk; the filter handles direct front-side impacts. The one caveat: a few wide-angle lenses combined with both hood and filter create vignetting at the corners, so test a new combination at the widest focal length. Related thinking on hood and filter selection lives in the rest of the lenses and optics section. The broader question of whether a filter has any visible optical cost in the digital era is explored in this side-by-side test of UV filter and no filter, with comparable shots from the same lens.
Closing: the right answer is situational
The camp that says always filter and the camp that says never filter both see one side. At beaches and in the rain, filtering is almost always right. With night point lights and stage work, removing is right. In between, a well-coated filter together with a hood is the safe average. Knowing which side of that spread your work usually sits on makes filter choice clear. The judgment carries across camera bodies; it does not reset when you upgrade.
One filter compounds over time
People who keep their gear for many years often repeat the advice: put a good filter on a good lens. Initially it sounds excessive. Ten years of regular use, with maybe one or two filter replacements, weighed against one expensive front-element repair, makes the math obvious. Filters are consumables; lenses are assets. The filter sits between them absorbing shocks and wear. Once that habit takes hold, it protects an asset for a long time.
Recent filter technology adds hydrophobic coatings and easy-clean finishes. Water beads and rolls off; fingerprints wipe away easily. Daily cleaning frequency drops one more notch. Premium options cost about 50 percent more than standard multi-coated, but for active outdoor shooters they save real time. And since cleaning frequency drives coating wear, reducing cleaning extends the filter’s own life as well.
The small trap of filter diameters
Even within the same mount, filter diameters vary by lens. A 50mm prime uses 49mm; a 35mm prime, 58mm; a 70-200mm zoom often 77mm or 82mm. Buying matching filters per lens stacks up fast. A workaround: step-up rings. Mount a small lens with a ring that adapts to a larger filter, then keep one filter sized to the largest lens. A single 77mm filter then covers every lens from 49mm up to 77mm. The catch: step-up rings on wide-angle lenses can introduce vignetting, so test at the widest focal length on each new combination.
Putting any filter on a serious lens is a small ritual at the start of every session. Open the bag and the first thing your eye finds is the front of the lens. Clean filter, ready to work. Dirty filter, wipe it or swap it. That small check holds the gear’s life and the photo’s consistency together. Inspecting tools is not separate from making photographs; it is part of it.