Automatic white balance works. It also does not work. Both are true. The same camera in the same light nails it on Tuesday and lags a beat on Wednesday. That inconsistency reads as a mystery, but it stops feeling mysterious once you see the assumptions auto white balance runs on. In the end, the question is what the camera believes is white.
Kelvin is a coordinate for the color of light
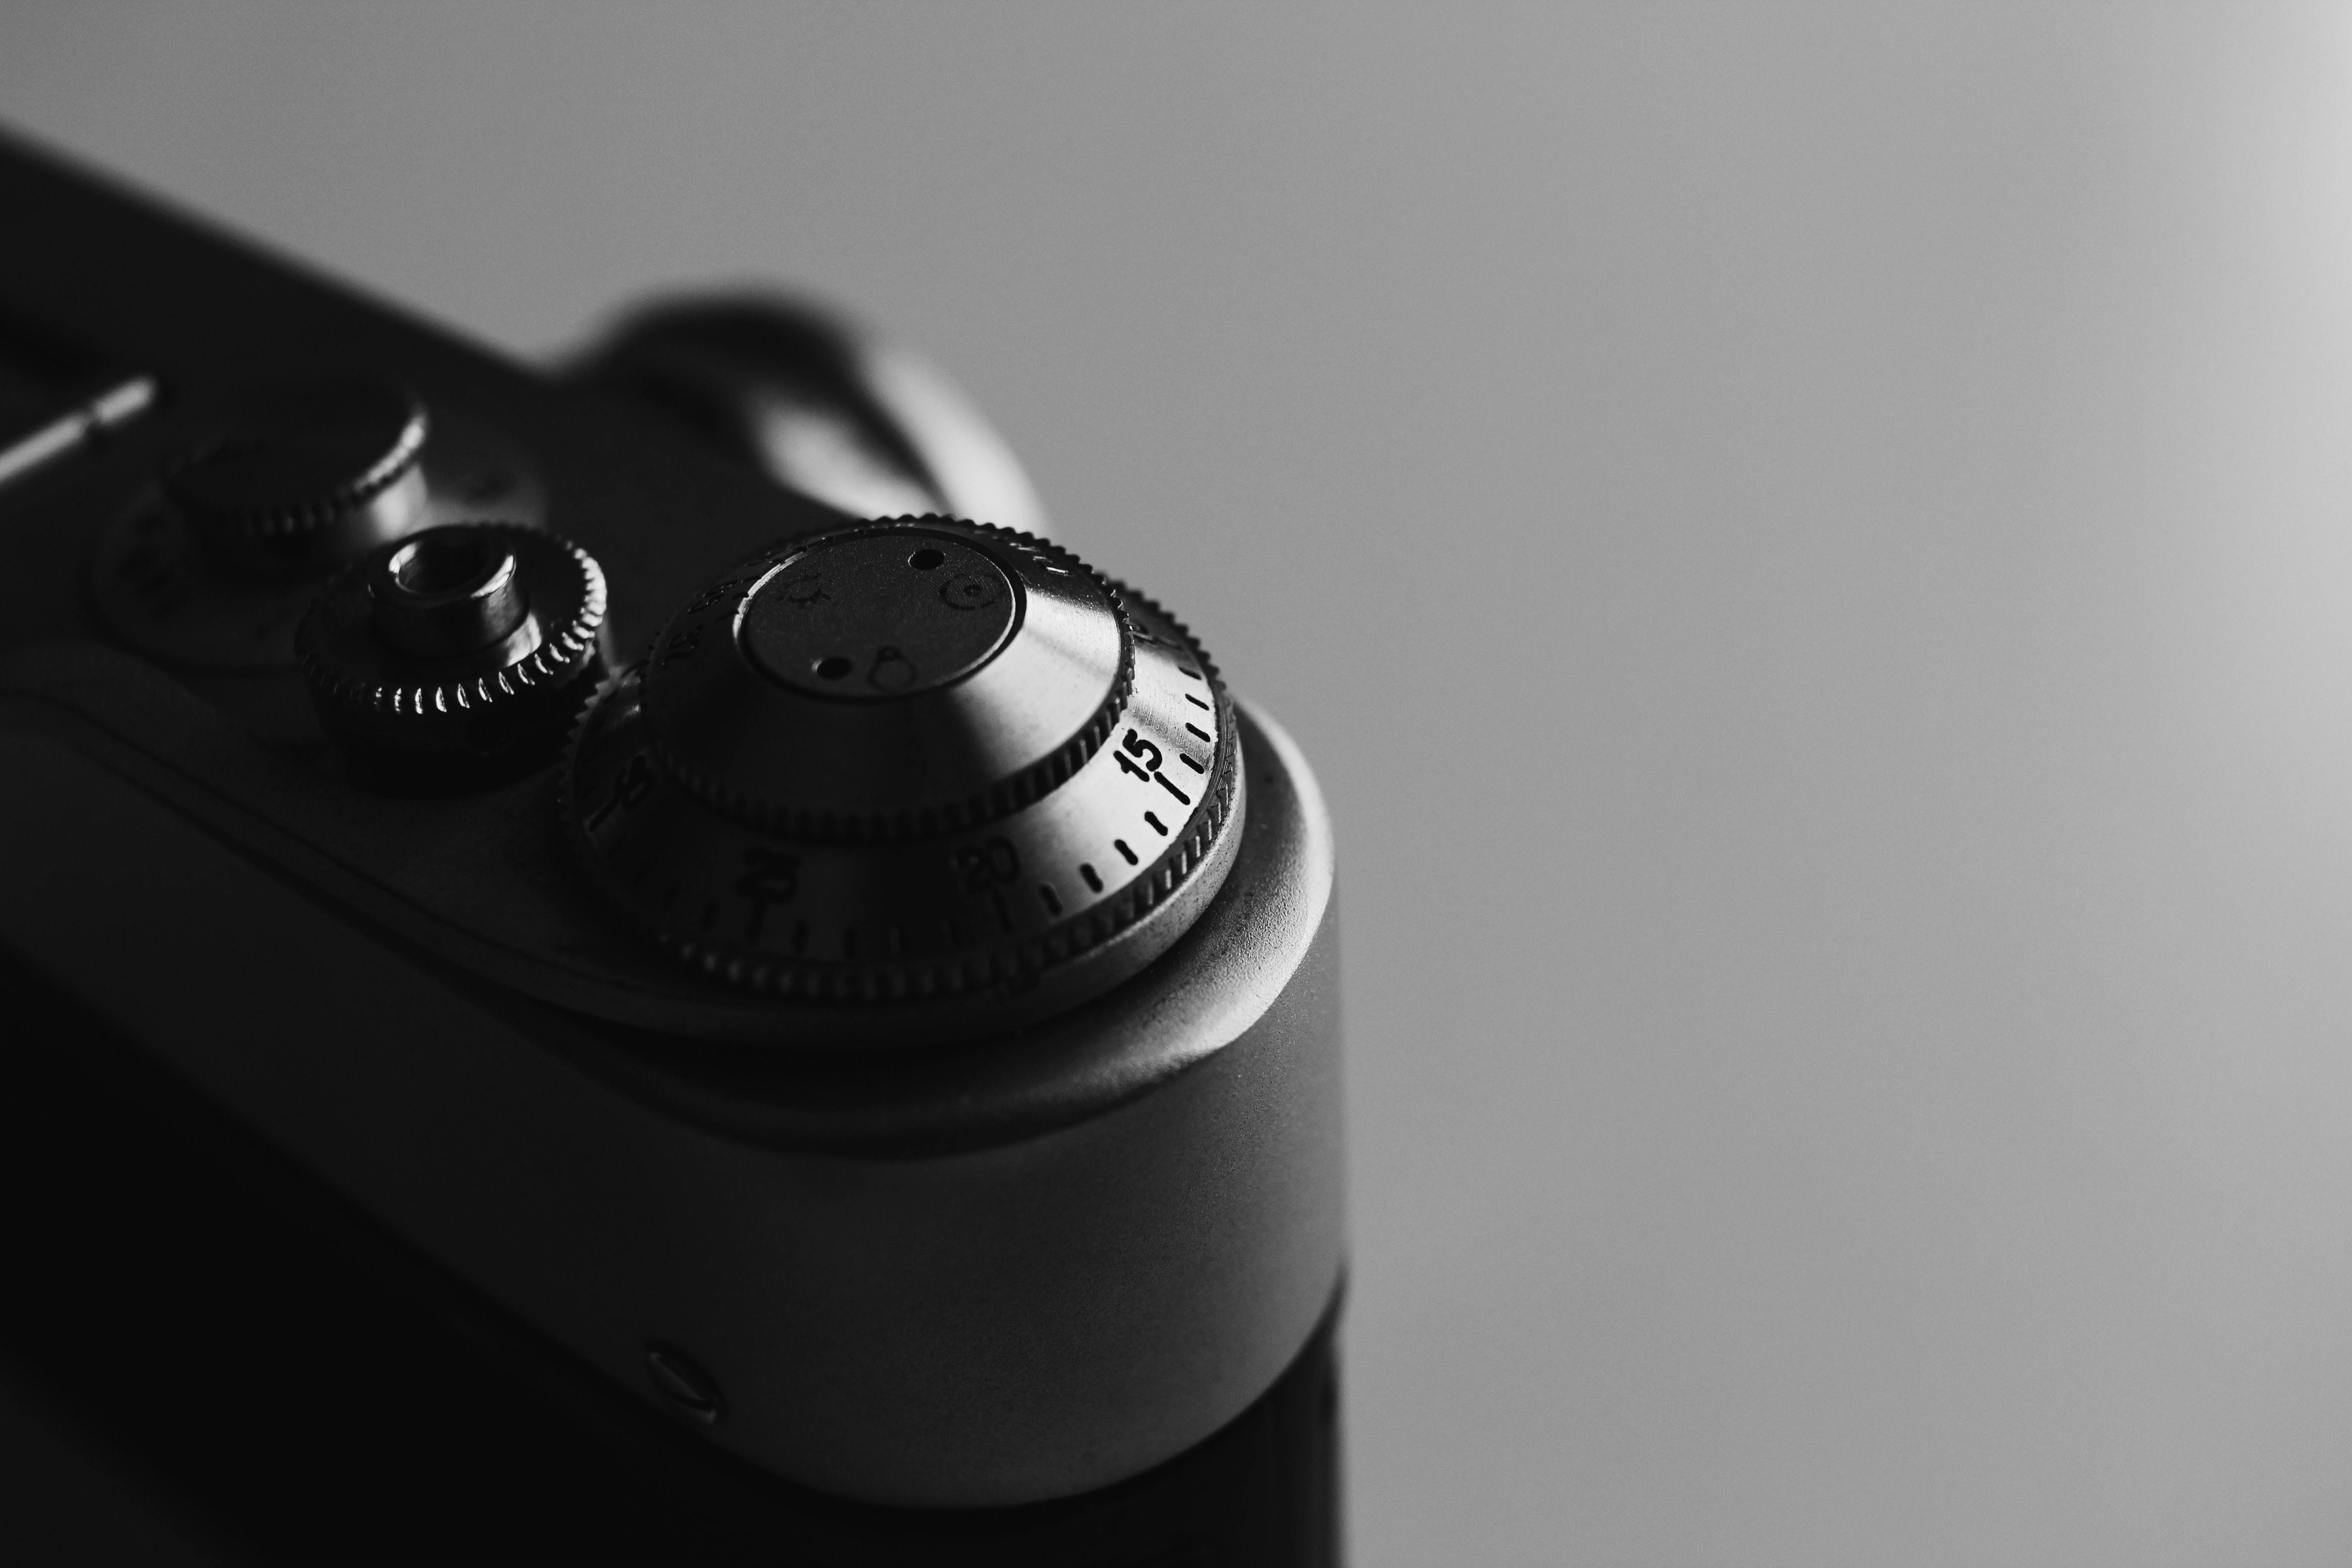
Turning the white balance dial moves a number. 3200, 4500, 5600, 6500, and so on. The number comes from blackbody radiation physics: Kelvin temperature describes the color of a light source on one axis. Lower numbers are warm light, higher numbers are cool light. Candlelight sits near 1800K, incandescent bulbs between 2700 and 3200K, midday direct sun around 5500K, overcast cloud shade often above 7000K.
The confusing part: dialing the camera’s Kelvin value higher makes the photo warmer, even though high Kelvin light is itself cool. The camera assumes the value you set corresponds to the light source, then compensates so that source registers as white. Making 6500K light look white requires adding red into the file. So when the dial reads 6500, red gets pushed in and the image warms. That inversion is unintuitive at first, but the moment it clicks the dial direction becomes obvious.
Mix the light sources and auto loses its footing
Auto white balance is most accurate when one light source dominates. Real shooting environments almost never look like that. A living room has daylight through the window and tungsten from the ceiling. A desk has fluorescent overhead and a laptop screen glowing in your face. A night street mixes streetlights with headlights. In a scene like this, whichever surface you treat as white forces the others to shift. The portrait skin looks natural while the back wall turns blue, and the cause is in the mixed light, not in your camera.
You have two paths out. Take control of the light: keep one source or match color temperatures across sources. Or pick the most important subject, white-balance to it, and accept the rest as atmosphere. If the person is the subject, balance to skin and let the wall lean cool as mood. That choice is hard to reverse in post, so set it deliberately at the moment of capture.
The eye adapts, the camera does not
Before white balance is internalized, the most frequent collision is with your own vision. Human vision adapts to the color of light quickly. Read a book under a tungsten bulb and the paper looks white. Photograph that page and it turns yellow. The camera is not wrong; it just does not adapt. Forget that distinction and the photo seems to lie. It does not lie. It records what the camera saw, which is different from what you saw, and that difference is normal.
The theory behind how light color reaches a sensor is laid out clearly in this primer on color temperature for filmmakers. Stills and motion treat the topic with a different vocabulary, but the central question — where to place the white point — is the same.
Custom white balance changes the game
When the light gets complicated, the surest move is to define white in that exact scene. Place a gray card in the same light, capture one frame, and use the camera’s custom white balance to register that frame as the new reference. The result almost always beats auto for that scene. No gray card? A sheet of white paper works, with one warning: some papers contain optical brighteners that fluoresce under UV. In open shade at midday, that can introduce a slight blue cast.
Shooting RAW gives you flexibility to redo white balance in post, which makes on-set precision less critical. JPEG is different. The camera’s decision bakes into the file, and post correction has a real ceiling. If JPEG is your workflow, custom white balance is much more valuable.
The screen plays its own color tricks
The rear LCD has its own color gamut and its own backlight. The same RAW file shown on the camera’s screen and on a calibrated editing monitor will look different. The camera’s display is not calibrated like the editor’s, and ambient light bends it further. In a cafe with warm light spilling over the panel, a perfectly fine photo reads slightly cool on the screen. Push the white balance toward warm to compensate and the file looks yellow when you get home.
The fastest way out of that trap is to stop trusting screen color. Use it for composition and focus only, and delay color decisions until you see the RAW on a controlled display. Closely related to this is how systems shift their color reference when you move between cameras, covered in the note on adapting lenses across systems.
Situations that come up often
At golden hour outdoors, auto white balance pulls the warm light back toward neutral, washing out the orange you came for. To preserve the mood, lock white balance to daylight or hold Kelvin near 5500. Under fluorescent office lights, auto usually does well, but some cameras leave a green residue; nudge the fine-tune toward magenta a step or two. Tungsten presets can read blue against actual tungsten bulbs, because real bulbs are slightly warmer than 3200K; dialing Kelvin down to around 2800 cleans this up. LED is fussier. Two 5000K LEDs from different manufacturers can have different spectra, and low-CRI models drop or distort specific colors entirely. The cleanest workaround is to shoot a gray card under the actual LED and lock custom white balance to it.
What RAW frees and what it does not
RAW users like to say white balance is freely adjustable in post. True, but with limits. The data in the file still carries traces of the original light. Pulling a tungsten-lit photo back to daylight in post does not fully erase the warm undertone in skin. Trusting the post to fix everything and ignoring white balance on set leads to dirtier color than setting it close and only fine-tuning later. Tight on set, light in post is the cleaner workflow.
White is not a fixed value
Long enough work in color teaches that “correct white balance” is not an absolute. Two photographers shoot the same scene on the same camera; one leans slightly warm, the other slightly cool. Neither is wrong. The dial fixes where the camera puts white, but that placement does not match a single emotional truth for the viewer. The dial is not a tool for finding the right answer; it is a tool for expressing intent. Choosing between accuracy and atmosphere is a question that returns at every scene.
Working with color is, in the end, working with the limits of your own vision. A friend looks at the same image and calls it warm; you see it as cool. That is not a question of right and wrong, but of what light each of you sits in. The final stage of white balance work is controlling your own viewing environment. Calibrate the monitor, hold ambient lighting steady, judge color at the same time of day at the same desk. A stable reference is the only way color travels consistently from your file to someone else’s eyes.